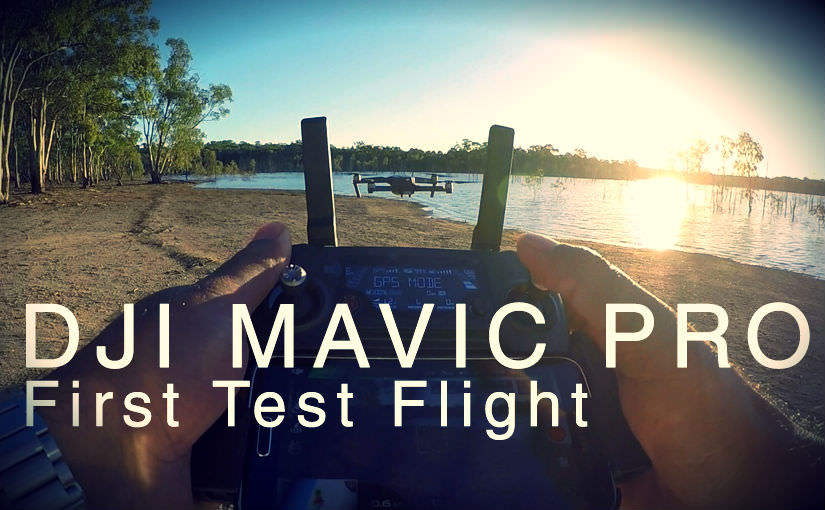
I finally received my DJI Mavic Pro drone. After a long wait searching online for the best Australian drone prices, I ended up buying directly from the DJI store.
I made a short movie. Getting the drone ready and first initial flight. Check it out on Youtube in HD. If you like it please give it a thumbs up and consider subscribing. I’m still learning the fine tuning of Adobe Premiere Pro CC.
More Test Footage from the Mavic Drone
- Testing the gimbal settings and Active Track at Anglesea. Some test footage plus the use of LUTS to colour correct the footage.
- Dronie at Lakes Entrance. More gimbal updates and the use of Tripod Mode.
Overall Review of Mavic PRO
This is a great lithe drone to fly. Very compact, light and extremely stable in the air. If you have flown drones previously, you will not have an issue fying this drone. If new to flying drones, then the Mavic Pro might seem a little daunting to fly and control with lots of options, controls, and video/photo settings.
The DJI Mavic Pro comes with a simple start up guide. Most of the manuals and videos can be found online. Some from DJI directly and others from YouTubers. I found researching YouTube my best source of information to configure the Mavic Pro and get the best usage from the drone.
Important Mavic Pro Setups
As soon as you unbox the drone, make sure you connect your phone to the controller and get the latest firmware updates. Do this at home on a WiFi connection. This is very important prior to flying. The updates can take about 40 minutes, so make sure the drone and controller are fully charged. I did my updates using the wireless option from the controller to the drone. (Initially the firmware crashed, however after a full reboot, the firmware worked.) Then verify the controller and Mavic Pro Firmware are the same versions. IMPORTANT!
I then calibrated the compass, which was easy to do. Here is a video on YouTube on how to calibrate the compass which is also a very important step prior to flying.
I then proceeded to calibrate the stick on the controller. Some users reported that the drone became unresponsive or sluggish without this calibration. There are videos on YouTube where the drone was self-landing. Calibration of the sticks is an easy process to make sure YAW, PITCH, ROLL work correctly on the drone. Some videos on YouTube I used to calibrate the sticks.
And finally what I forgot to do in the video above was to calibrate the gimbal. You will notice in the video above, the gimbal is off the center horizon. I didn’t notice this until I was editing the footage. I also didn’t realise you needed to do this with the initial setup. Some more videos on YouTube to help you calibrate the gimbal. (Which is also an easy process).
Once the above 3 setups are done, you’re ready to fly. Once you take off, make sure the home point and RTH (Return to Home) has updated correctly on Google Maps. If it doesn’t, land the aircraft and try again. I usually take off using the Auto Takeoff feature and hover above the home point for a few seconds to double check the home point before the flight begins.
Finally, I haven’t mentioned the video editing and filming options. Depending on your taste, you can configure this to your liking. I personally started filming in DJI D-Cinelike and then I use some LUTS in Adobe Premiere PRO CC 2017 for the final output. Getting used to the FOCUS button or clicking on the image to focus on taking pictures and video takes a little getting used to. So don’t forget to do that or the images will be out of focus.
A lot of configurations, such as Active track, Tripod mode, and gimbal settings will keep you busy testing and flying this drone. The drone is stable in high winds and the images and video are just incredible. If you have any questions leave it in the comments section or email me.