For the past few years I’ve been purchasing Raspberry Pi models for different applications for the home. I’ve used them for security, media centres, desktop software, car applications and various other hacks around the office and at home. I’ve owned every model of the Raspberry Pi since inception and always try and keep up with the technology every year. I find the Raspberry Pi a great learning tool not just for me but for my kids as well, who love playing with the parts and operating the applications. They seem to pick up the fundamentals of computing and technology quickly when it’s hands on programming and building fun interactive projects. The results are almost instant and they can see what they have built on the TV or monitor.
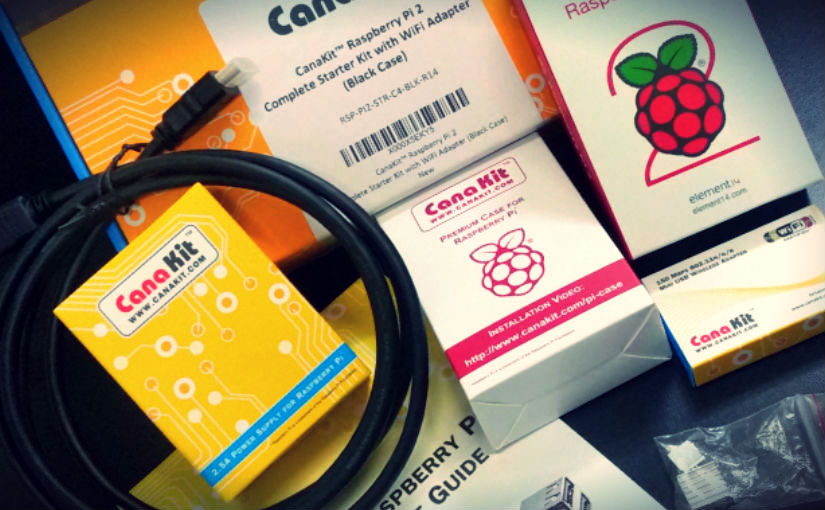
Recently I purchased a Raspberry Pi 2. This is the latest version and is powered by a 900MHz quad-core ARM Cortex-A7. For it’s size it’s POWERFUL! Instead of going to eBay and buying individual parts for Raspberry Pi 2, for the first time I decided to buy the complete kit from a company called Cana Kit. I purchased from Amazon for around $100.00 AUD including shipping to Australia. There are different kits depending on your application and projects. I decided on the “Raspberry Pi 2 – Complete Starter Kit“.
Raspberry Pi 2 – Complete Starter Kit Consists of:
- Raspberry Pi 2 Model B 1GB of RAM
- Class 10 – 8GB SD Card. (Which I swapped out for a 32GB card)
- WiFi Dongle – Ralink RT5370 chipset
- Nice black case for the housing
- Raspberry Pi 2.5A USB Power Supply. (*I also have a USB with power button switch)
- HDMI Cable – Premium Quality
- Also comes with guide for beginners. If starting out with the Pi
I was very impressed with this kit from Cana Kit and has everything you need to setup and run your Raspberry Pi. Note the SD card was preconfigured with NOOBS. This is great however I’ll be adding my own OS, so I swapped out the SD card to my own Kingston 32GB Class 10 card. The power supply is also a great, however I swapped mine to a USB so it could be used in the car etc and also have a power switch to boot down the media centre when not in us. Shipping from this company was super fast to Australia via Amazon Prime.
Hack: Raspberry Pi 2 (New Project)
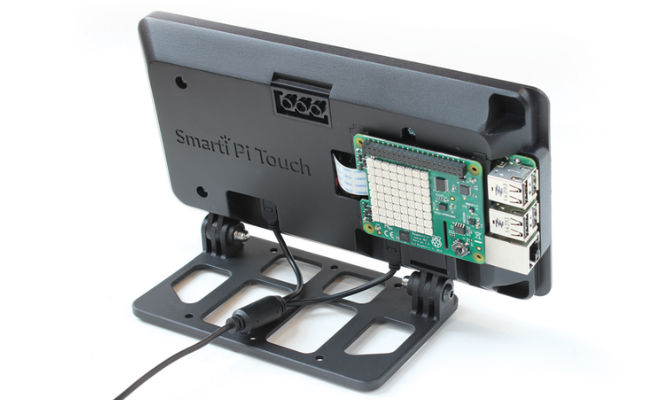
I wanted something portable and versatile to either carry around the home, use while I’m away from the office, in the car etc. What better way than to create a portable desktop / tablet / operating system with the Raspberry Pi. I had funded a project on Kickstarter called the SmartiPi Touch. The SmartiPi Touch is a case for the Raspberry Pi Touch-screen display which also holds the Raspberry Pi 2. It’s a highly optimised package for your official Pi display and Pi board. This company also provides solutions using Lego as cases for the Rapsberry Pi. I own some of these cases and love the idea behind using Lego to create a case for your projects.

Hardware for the Project
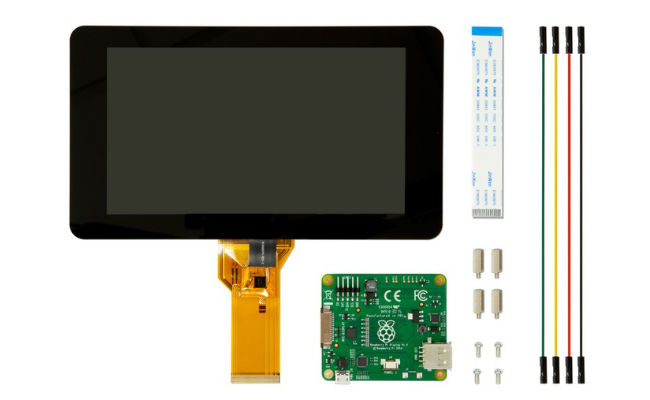
I plan to use the Raspberry Pi 2 from Cana Kit, along with the official touch display and the Kickstarter case from SmartiPi. I still need to purchase the touch display which is a little pricey around the $150.00 AUD mark as of writing this post. Additional hardware I’m considering is a wireless keyboard for data entry as I already have a couple of them hanging around the house. I also have a Logitech F310 Gamepad for gaming. See below.

Software for the Project
I’ve decided to use BerryBoot v2.0. If unfamiliar with this software, Berryboot enables you to install multiple Linux Distributions or software packages onto one single SD card. When first booting you get nice menu and you can choose which operating system, you would like to boot into. I plan to install Openelec, Ubuntu and Retropie to start with. That way I’ll have a desktop software to run internet and office applications, a media centre for video’s, movies and streaming and an old school gaming console. (Compatible with the Logitech F310 Gamepad).
I’m thinking this setup will first get tested in the car as I already made some preconfigured brackets, power and will look great in the Holden. This solution will give me a truly portable Raspberry Pi (- power). It will also look great with the professional looking case from SmartiPi. If anyone has any suggestions, addons or even software packages I should load to the SD card, please let me know. I would love to hear your thoughts or variations on this setup.
Completed photos of the project + SmartiPi Touch Case
