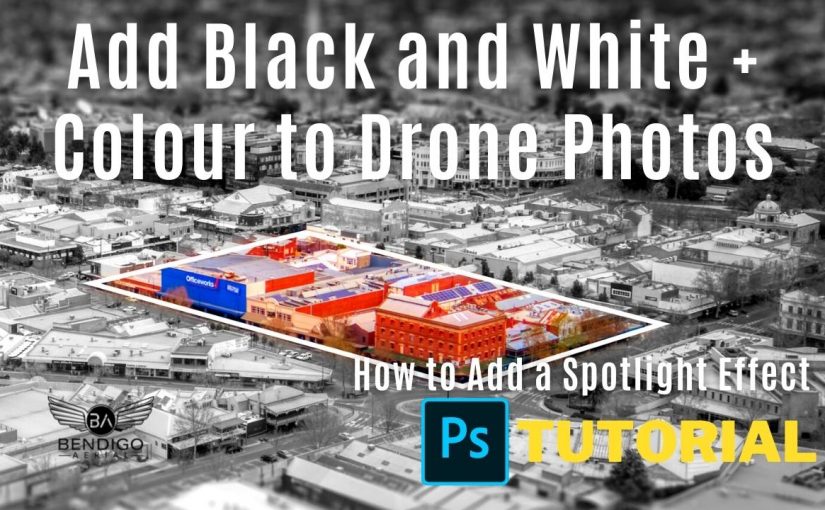
In this tutorial, I’m going to show you how to colour (spotlight effect) your drone images into this popular real estate style edit using photoshop.
This is an image of Bendigo Central business district. For this example, I’m going to draw a property line around the block then make that selection in colour and then turn the rest of the image into a black and white photo.
If you haven’t seen my previous tutorial on drawing real estate property boundary lines go check it out. But you can draw the lines easily by using the Polygon and rectangle tools, or the pen tool. I’m going to use the Pen tool for this example.
Video Transcript – How to Add a Spotlight Effect
Select the tool and draw your boundary around the property. You can do it roughly since we will move each point shortly.
Once done, head over to the Direct Selection tool – we’ll use this to move each point.
Click on the line and move each point to the correct corner.
Personal choice, but I like to align close to the footpath or the bottom corners of the buildings.
Once done, press the right mouse button on the line and select “Make Selection”
For rendering, I prefer to use 10 to 20 pixels for the Radius.
Now that we have made the selection, we want to “Inverse the image”.
Inverse in photoshop means to select the area you don’t have selected at the time. In this example, Inverse will select everything outside of the white property line.
So from the top menu, go to “Select” then “Inverse” or Shift+ Control and I
Colour Drone Photos into Black and White
Now to may the image Black and White. Go to your adjustments TAB.
Select the Vibrance and Saturation Icon.
Then drag the saturation slider all the way down.
Your image outside of the selected area will turn into a black and white photo. You can also play with the Vibrance settings for your own personal look.
And there you have it a very popular real estate edit that looks professional that highlights and showcases your house your block of land or area.
I have a bonus tip: As you see when I initially edited this photo, I blurred sections of the photo to give it a tilt-shift effect.
If you need to blur neighbour’s houses or surrounding areas you can simply use the blur tool. First, make sure the layer is selected for the image.
Select the Blur Tool, from the top menu these are my settings. I like to keep the brush around 400 PX and the hardness between 10 and 20%
I then draw over the image where I want the blur to occur. You will notice a soft blur over the properties. You dont want to blur too much as you still want to see the shapes of the buildings, and outlines and give that aerial perspective to potential buyers.
I hope you found this useful, please like and subscribe to the video.