In this tutorial, I show you how I add property boundary lines for real estate drone photos. We use adobe photoshop as our preferred software and we use the polygon and pen tool to create an outline for the property lines and property boundaries.
Transcript from YouTube Video
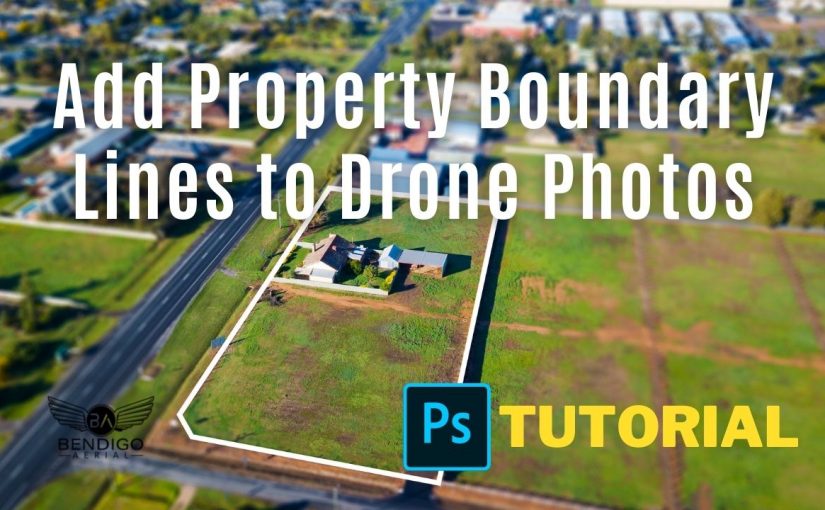
So this is an image we captured last week for a real estate development company. I’m going to show you two simple methods to draw property boundary lines using the “Polygon Tool” and the “Pen Tool“. Almost 90% of the time, we use these two methods to quickly draw and highlight the property lines and boundaries.
Polygon Tool for Property Lines
So the first method I’m going to show you is the “Polygon Tool”. Select the “Polygon Tool” and check the settings in the top menu. For fill I have it set to no fill no colour. For the stroke colour I use white, the width I set to 50 pixels to start with. So that I can see clearly. For the sides, you can use four for a square or rectangle block or three for a triangle. I’m going to use five for this image. Since the real estate developer wanted the sliced section at the bottom, once done, click anyway on the image using your left mouse button and drag to create your polygon shape. Once you have your shape created, you’ll probably notice that you can’t move the corners so to get the corners into the right location, we’re going to use the direct selection tool one selected click anyway on the line, then drag each corner into the correct position for the property, aligning the boundaries or the area of interest Once done, you can adjust the width and line from the top menu. I prefer to use around 20 pixels depending on the perspective of the image or the height of the drone image.
Pen Tool for Property Boundary Lines
Option two is to use the “Pen Tool”. The “Pen Tool” is great for boundaries that have multiple sections or difficult areas to cover with the line. As an example, we’ll draw the same boundary line but go around the house as if the house was not for sale and only the land was for sale. We’re going to start by selecting the “Pen Tool”, from the top menu. The same settings apply, so check them if needed. To start, use the left mouse button and click on the starting point. Go to your next point and click to connect the line.
I’ll do the same for all points where I want the line to go. I do this quickly and roughly since I’ll be moving each point into the correct location shortly. To complete the boundary. join the last point to the start position. Once you’ve completed the “Pen Tool” shape, we’ll do the same alignment by going to the direct selection tool and selecting it, clicking on the line, and then moving each point into the correct location.
Then adjust your width, colour and fill if required from the top menu. So these two are my go-to options when creating simple but effective property boundary lines for real estate development companies. I like to keep it as simple as possible with the least amount of effort on my part.
Other Photoshop Tools
There are so many different ways to do this, including using the “Laso“, “Paint Brush” and “Selection Tools” in Photoshop.
So let me know in the comments what your preferred method is or if you have another option. Please don’t tell me, you use the line tool.
Check out this video: Workflow for Creating Orthophoto for Construction Progress – DroneDeploy and OpenDroneMap.