I’ve received a few questions about installing Duino Coin on the Raspberry PI 400. In this quick tutorial, I will show you how I installed Duino Coin on my Raspberry PI 400.
Duino Coin – Transcript of YouTube Video
This is a quick tutorial on how to install and configure Duino Coin. The first thing you need to do is head over to duinocoin.com, before starting, you need to create a wallet address, click on “web wallet“, followed by “create a wallet“, create a username, mine is going to be “cmcoin”. Create a password, a strong password, followed by your email address, and then create a new wallet. Don’t forget to remember your username, as you will need this shortly to set up the miner.
Once done, you can close that screen and head over to the front page. From here, click on “get started“. We’re going to install this on a PI 400, so click on “Raspberry PI”. These are all the commands you need to install and run Duino Coin on Raspberry PI 400, so now I’m going to connect and turn on my Raspberry PI 400.
Connect to the Raspberry PI 400
I’m now connected to the Raspberry PI 400 using VNC. As you can see, I’m using Twister OS as my operating system, this is also one of my favorite desktops to use on the Raspberry PI 400 along with Kali Linux. I generally dual boot using Berryboot and then VNC into the machine. But basically it doesn’t matter what operating system you use for the Raspberry PI, Duino Coin will work on Ubuntu, Mint, Raspbian or PI OS, it really doesn’t matter.
Install Duino Coin Commands
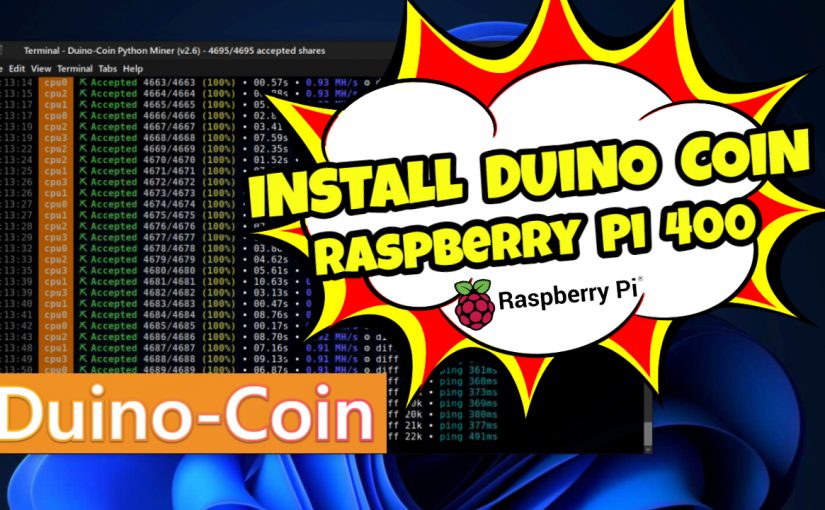
So to install I’m gonna open up a terminal window and copy and paste the commands, the commands will also be in the video description below. So the first command is to update your existing OS, I’ve already done this, so I will skip this part. The next command is to install Python3, most systems have this already installed, if not, your OS will install it if required, as you can see, mine’s already installed. Next, we’re going to install all the files delivered to our desktop from the Git hub, once that’s completed, we’re going to change the directory to the Duino Coin folder. Just before we run the program, you can type “ls” and have a look at the files, you can see that “Wallet.py” script is in there. Yes, you can create your wallet from this script as well if you have not already done so from the website. You can also log into the wallet and check your balances, I prefer to use the web wallet to do this.
Run the Command to Start the Miner
Now you are ready to set up the miner with a simple setup process and start mining. Since it’s the first time I’ve set up Duino Coin it’s going to ask me for my username. For the mining intensity, I generally keep all the defaults as recommended by the program. Mining threads are set to “4” because it’s the raspberry PI. Again for Raspberry PI I’m going to use “1” for low difficulty. “Do you want to add an identifier?”, I want to say “yes”, I do have three or four different Raspberry PIs going so I like to identify each one, so this one I’m wanna call it “CMPI400”. For the developer donation level I want to use the recommended “1”. And that’s it, we’re now mining Duino Coin. You can keep this unattended, my Raspberry PI doesn’t have a monitor in front of that, it’s just running on its own, on power, and I just check in once in a while using VNC just to make sure the program is running.
Duino Coin Wallet
If you do want to check your wallet and make sure your miners are online and working, you can head to wallet.duinocoin.com, enter your username and password, and click on “login”. Once logged in, you can see your Duco balance, I have around 272 Duco coins. You can see your Raspberry PI miners, all working. Below that is your transactions, the money I have spent or received will be shown here. You can send Duco coins to other members in the community. Just add their username and an amount to send. For example, you can send 10 coins, or whatever you want to send, to another member easily. The transaction will then appear in your transactions list.
Exchange Duco on the Exchange
And down here you can exchange your Duco coins to XMG, BCH, XRP, and other stable coins on the Duco exchange. This is a great little project to get into, especially if you have a couple of Raspberry PIs hanging around, you get to learn about crypto mining, understand the technology, and if you have young kids this is a great way to introduce them to low powered mining and the Raspberry PI.
Now, will you get rich? Probably not, this is a new token, new coin may take some time, years even, to get off the ground, no one really knows, but the fact that you can mine with your Raspberry PI is truly incredible, it’s a great achievement for these young developers. By the way, the developers are really young, like 16, 17 years old, really smart so, who knows where this project will go in the coming months or years. I hope you try it out with your Raspberry PI and let me know how you go.