Kali Linux is a powerful suite of tools packed into an operating system to help diagnose security and vulnerability issues. It contains a host of applications for online security, forensics, hacking and coding.
This is a transcript of my YouTube video on how to install Kali Linux on Raspberry Pi 400. Please check out the video below and if you have further questions or comments, please contact me.
Direct Links From the Raspberry Pi 400 Video
- Download the Raspberry Pi OS Imager.
- Kali Linux for ARM computers – Download Page
- Download Balena Etcher as an alternative to Raspberry Pi OS Imager.
Want to Buy a Raspberry Pi 400? Check out these links from eBay. The Raspberry Pi 400 can be purchased as a complete kit ready for use and preinstalled with Raspberry Pi OS. Magedok touch screen display as a portable monitor.
Check out more Raspberry Pi Projects here. “SmartiPi Touch and Raspberry Pi 3 Running BerryBoot” and “Raspberry Pi 2 Project, Cana Kit + SmartiPi + Touch Display”.
Install Kali Linux on Raspberry Pi 400 – Video Transcript
This is the Raspberry Pi 400, a computer inside the keyboard. I’m going to show you how to install Kali Linux on the PI 400.
First, open up a browser and type Kali Arm Download. Look for the Offensive Security Linux Download Page. Here all Linux ARM images can be found and downloaded. Scroll down to Raspberry PI Foundation
The 64 bit image can be loaded on to the PI 400. However from my testing, I’ve had Wifi issues, slow response and lag when using this 64 bit OS. From other forums there are some known issues with this file. Instead I chose to use the 32 BIT file. You can also download from the Torrent link which is generally quicker.
Wait for the file to download and complete. I like to install my OS image with the raspberry Pi Imager. Its free to download. Alternatively, you can use Balena Etcher which is also free and a great little tool to install an OS image.
Install Using Raspberry Pi Imager
Heading back to the Raspberry Pi imager, I first like to erase my current SD card. Give it a clean canvas. Select Erase followed by choosing your current SD card. If you have multiple cards, pick the right one. Follow the prompts and wait for the format.
Now to install Kali, click on Operating Systems and pick “Use Custom”. Search for the download Kali Linux OS Image, select and open. Choose the correct SD card you want Kali to be installed on and click WRITE. Raspberry Pi imager will write the OS onto the SD card and will take around 10 minutes to complete.
Once completed, eject the SD card and insert into the Raspberry Pi 400. Now you want to setup your PI 400 system. I’m using MAGEDOK Portable Monitor. Plugin the Mouse, PI 400 Power Adaptor and HDMI cable to your monitor.
It’s now time to power up the PI 400. The first boot will take some time due to portioning and setup by Kali. The whole process is automated and will take around 5 minutes to the login screen.
The default login and password is KALI and KALI.
Setup Kali Linux
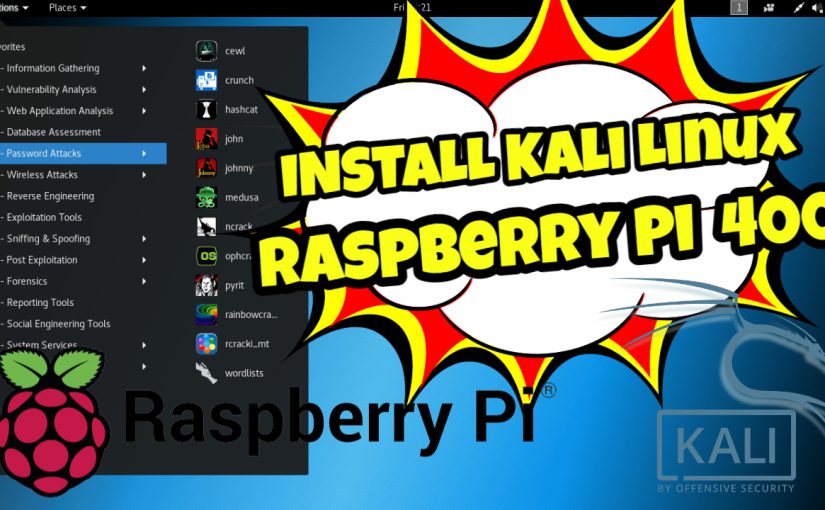
Once you’re on the desktop, you can set up your Wifi, personal preferences and folders. As you can see this edition of Kali comes with a host of applications for security, forensics, hacking and coding. Lot of cool tools to try and explore.
Don’t forget to update and upgrade your kali, by opening a terminal window and typing sudo apt update followed by your kali password.
Then to upgrade the file and applications, type sudo apt upgrade
This can take around 10 – 20 minutes to complete on the first run. I’ve already completed it, so it has finished quickly.
And that’s how you install Kali Linux on one of my favourite computers the Raspberry Pi 400. If you need more information leave them in the comments section below and please like and subscribe to this channel for more videos.
Until next time thanks for watching and happy coding.