I travel a lot. Getting stable, secure and reliable internet has always been a priority for me. Some of our customers also now require encrypted secure traffic for additional peace of mind. Introducing the GL.iNet GL-AR750S travel router for people on the go.
Initially, I was going to use a Raspberry Pi 3B+ for this project. There are many projects online where you can convert these single-board computers into a travel router. I came across the Gl.iNet travel router on a shopping website and was curious about how effective this would be.
GL.iNet GL-AR750S (Slate) First Impressions
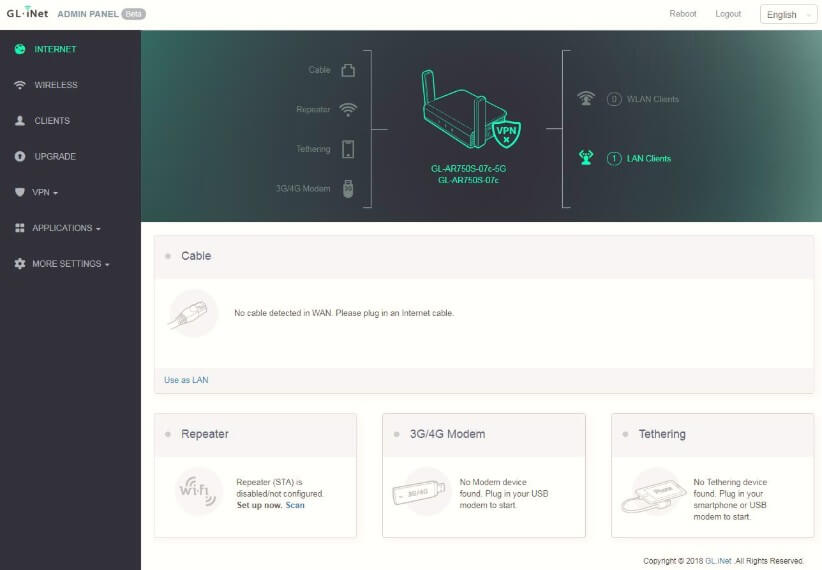
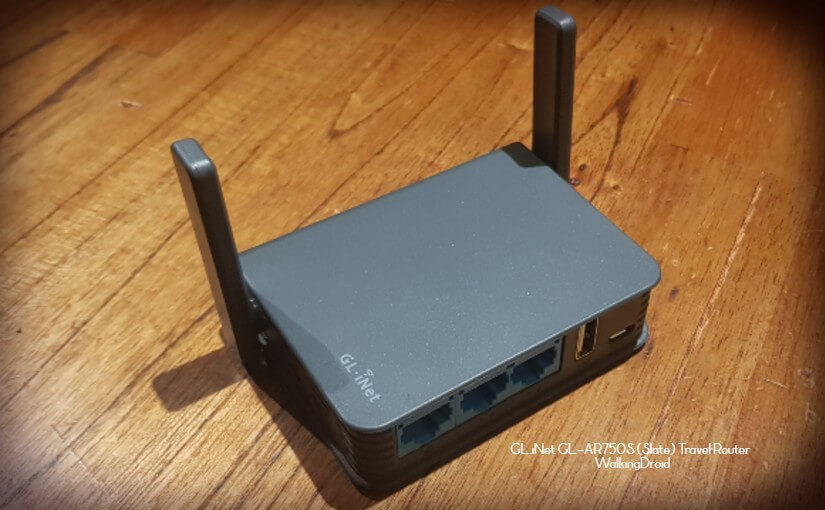
My first impression it’s small and lightweight (90 grams). Perfect for travelling, backpacking and working away from the office. It has an easy setup feature, beautiful GUI and admin screens. Easy menus to navigate through and low power consumption. (Can be run from a portable power bank or a cigarette lighter from the car).
Travel Router Features I Love
- Dual Bank Router 2.4Ghz/5Ghz
- You can tether your 3G/4G dongle from Telstra or another ISP provider
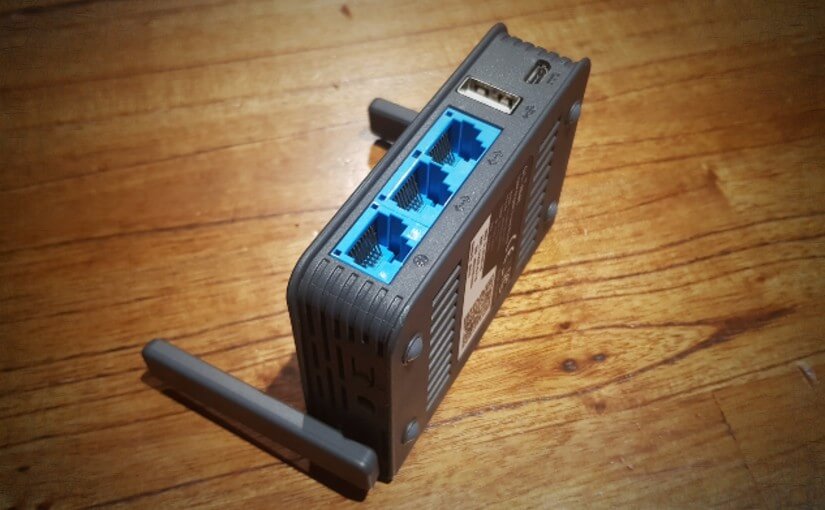
- Has its own 3 Gigabit Ethernet ports and USB ports.
- Open Source OpenWrt pre-installed
- Onboard SD card slot for onboard file sharing
- You can use OpenVPN and Wireguard. Custom VPN options
- Convert a private wired connection to a wireless connection
- Connect to hotel hotspots with multiple devices
- Share the internet with multiple users
- Use Cloudflare TLS
- I can use custom DNS like Google or Cloudflare for faster surfing
- Options for WAN as LAN from settings in Admin Console
See the full list of features here.

How I use GL.iNet GL-AR750S Slate Travel Router
Since I travel to many hotels, I first created a Wifi Hotspot using the setup wizard for the travel router. Then when I visit a hotel, I sign up for the Captive Portal inside the travel router admin menu. (If you have trouble with this, sometimes, connect with your phone to the hotel, then try connecting to the travel router to the hotel). Once connected all my devices connect to the travel router’s SSID and my internet traffic is now safe and encrypted. I also have a USB Telstra Dongle. So when I’m in the car or working away from the office, I can simply plug the dongle into the back of the router to get internet access where ever I am.
My Setup of the Travel Router
I created a 2.4 GHz and 5 GHz SSID with a strong password. My VPN of choice is Private Internet Access. (Haven’t tried WireGuard yet). I used the OpenVPN setup files to set up the VPN section. I also enabled the side button to Turn On/Off the VPN.
For custom DNS I updated the DNS to use Cloudflare. Personal preference, but I find Google to perform the same for me. DNS Rebinding Attack Protection to ON and DNS over TLS from Cloudflare to ON.
I’ve turned on Remote Access to ON (SSH).
I’ve turned on File Sharing to ON (Share via WAN) – this is a great feature if you want to share a movie, playlist or similar with kids on multiple devices. Makes a long car trip go quickly.
I haven’t tried the MAC Clone, but this is a great little feature when hotels and WiFi hotspots limit access by the MAC Address. With this feature, you can clone the MAC Address and then share the internet with all users. (Multiple users on the same MAC Address).

My Final Thoughts
I’m very happy with the travel router. Purchased for under $90.00 AUD, this simple device has enabled me to work remotely and securely and keep my family and friends connected to the Internet. I’ve listed some of my favourite links below for quick reference. If you have further questions, get in contact with me.
My Bookmarked Links for the GL-AR750S Slate Travel Router
- Check and update the current firmware
- Private Internet Access – OpenVPN Configuration Files
- Google Custom DNS
- Cloudflare Custom DNS
- Login to GL.iNet Router Admin Console – 192.168.8.1
Related Articles about Travel Routers
- Aircove Go ExpressVPN Travel Router AXG1800
- Beryl Travel Router GL-MT1300 by GL.iNet
- Travel Router GL.iNet GL-AR750S Slate
